
Firebase Authentication は、Web やアプリに ログイン機能を簡単に追加できる認証サービスです。
メール/パスワードや Google などの 外部アカウント認証を安全に扱えます。
発行される ユーザーID(uid)を使ってデータアクセス制御と連携できるのが特長です。
今回はGoogle認証の環境構築とHTML+JSでアクセスするところまで行いました。
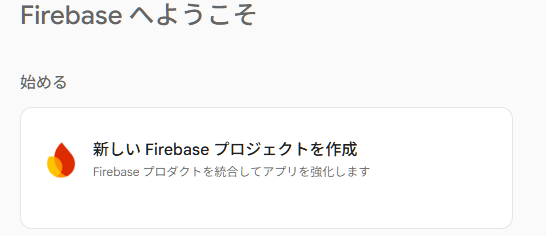
1. Firebase プロジェクトを作成
-
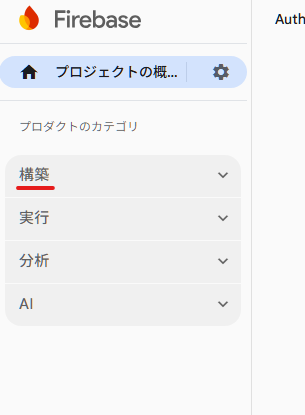
Firebase コンソール
https://console.firebase.google.com/ -
「プロジェクトを追加」
-
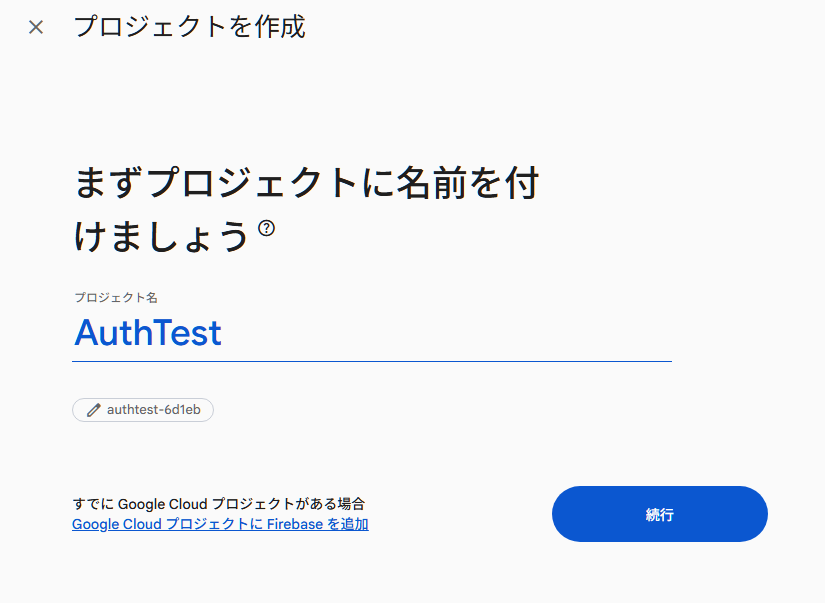
プロジェクト名は何でも OK
-
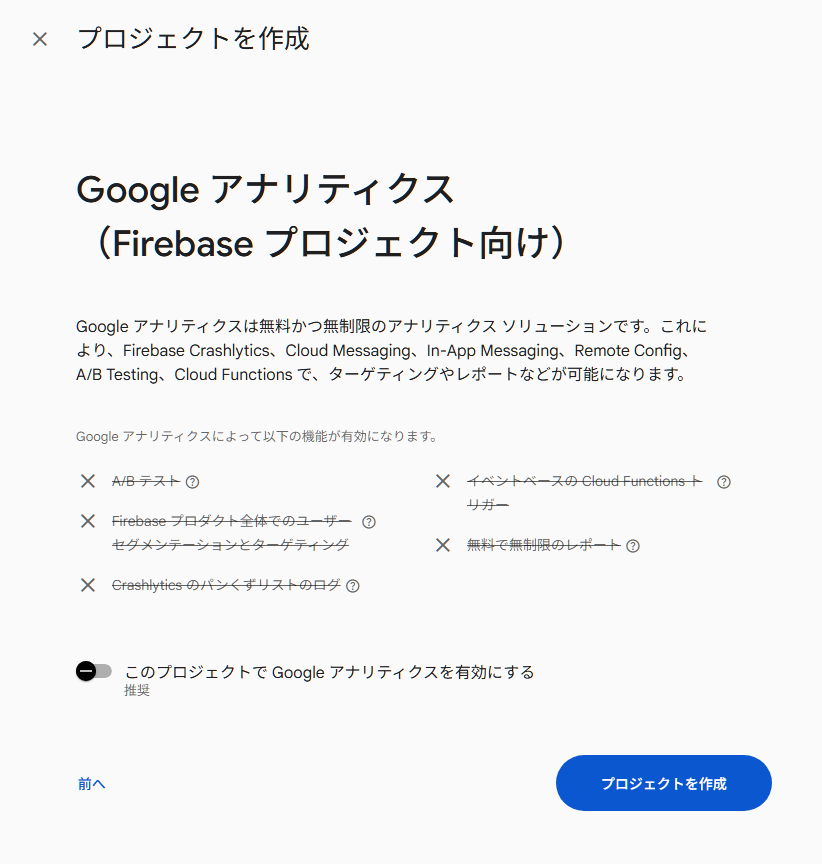
Google Analytics → 今回は オフでOK
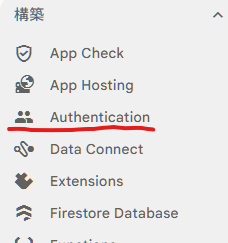
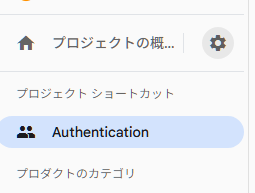
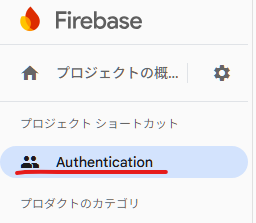
Firebase コンソールで Google 認証を有効化
-
Firebase コンソール
-
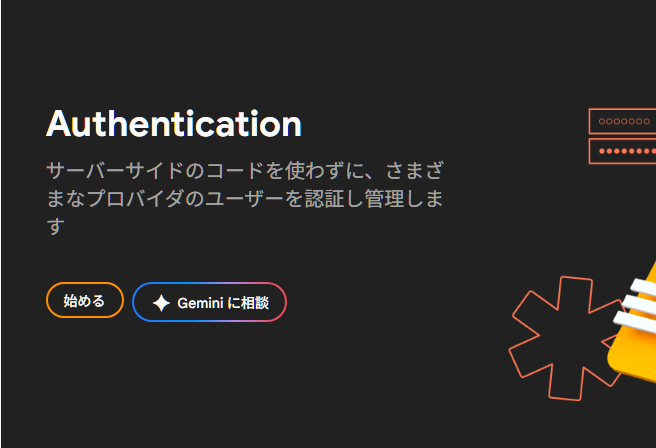
Authentication
-
ログイン方法
-
Google を選択

-
有効にする
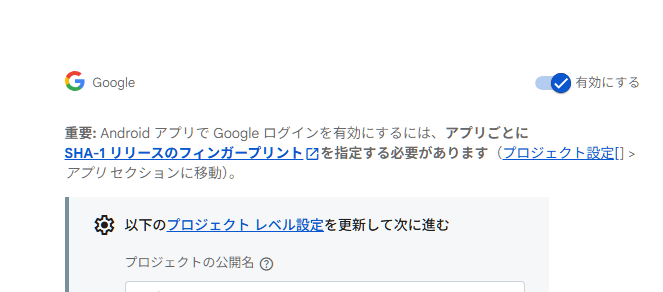
-
プロジェクトサポートメール
→ 自分の Gmail を選べばOK -
保存
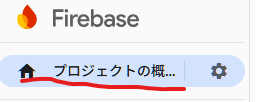
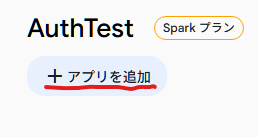
Web アプリ設定を取得
プロジェクト概要 → +アプリを追加→</> Web
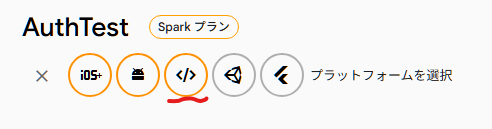
①アプリの登録→アプリのニックネームをセット
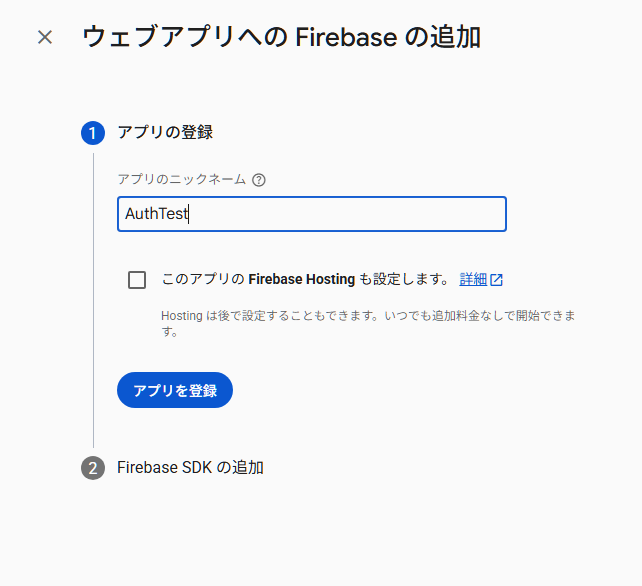
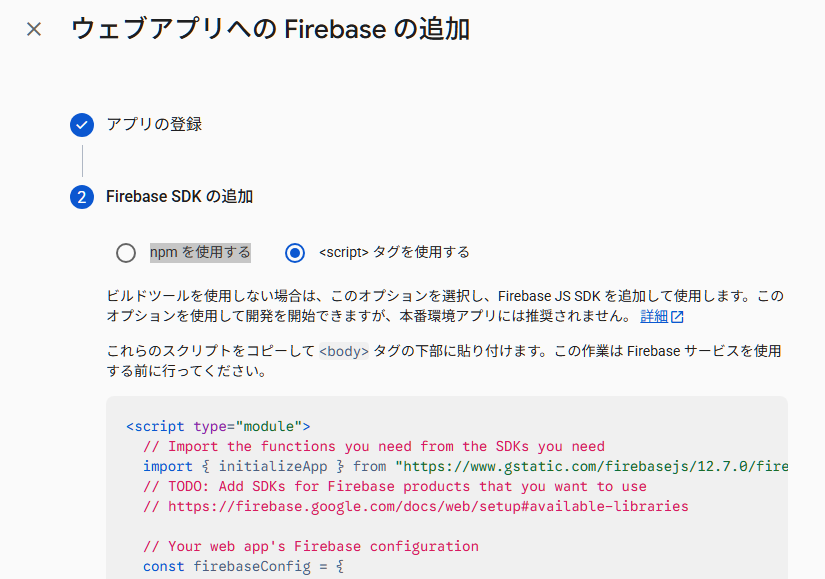
<script>タグを使用するを選択。表示される firebaseConfig をコピー
HTML + JavaScript(Google 認証)
index.html
<!DOCTYPE html>
<html lang="ja">
<head>
  <meta charset="utf-8">
  <title>Firebase Google Auth Minimal</title>
</head>
<body>

<h1>Firebase Google 認証</h1>

<button id="login">Googleでログイン</button>
<button id="logout">ログアウト</button>

<pre id="result"></pre>

<script type="module">
  import { initializeApp } from "https://www.gstatic.com/firebasejs/12.7.0/firebase-app.js";
  import {
    getAuth,
    GoogleAuthProvider,
    signInWithPopup,
    signOut,
    onAuthStateChanged
  } from "https://www.gstatic.com/firebasejs/12.7.0/firebase-auth.js";

  // ★ 自分のプロジェクトの設定に置き換える
  const firebaseConfig = {
    apiKey: "API_KEY",
    authDomain: "PROJECT_ID.firebaseapp.com",
    projectId: "PROJECT_ID",
    appId: "APP_ID"
  };

  const app = initializeApp(firebaseConfig);
  const auth = getAuth(app);
  const provider = new GoogleAuthProvider();

  const result = document.getElementById("result");

  document.getElementById("login").onclick = async () => {
    try {
      const resultAuth = await signInWithPopup(auth, provider);
      const user = resultAuth.user;
      result.textContent =
        "ログイン成功\n" +
        "UID: " + user.uid + "\n" +
        "名前: " + user.displayName + "\n" +
        "Email: " + user.email;
    } catch (e) {
      result.textContent = e.message;
    }
  };

  document.getElementById("logout").onclick = async () => {
    await signOut(auth);
    result.textContent = "ログアウトしました";
  };

  onAuthStateChanged(auth, (user) => {
    if (user) {
      console.log("ログイン中:", user.displayName);
    } else {
      console.log("未ログイン");
    }
  });
</script>

</body>
</html>
ローカルストレージにindex.htmlで保存
codeでプレビューで開く→ブラウザで開く→URLを127.0.0.1からlocalhostへ変更
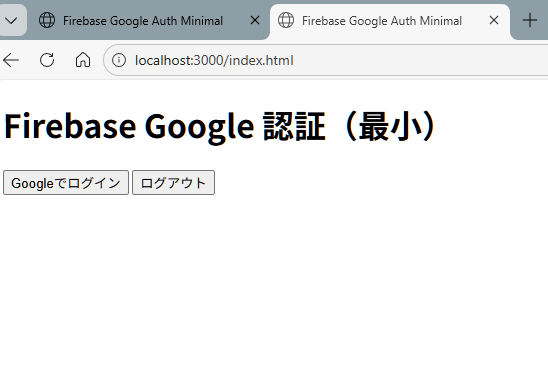
Googleでログインをクリック
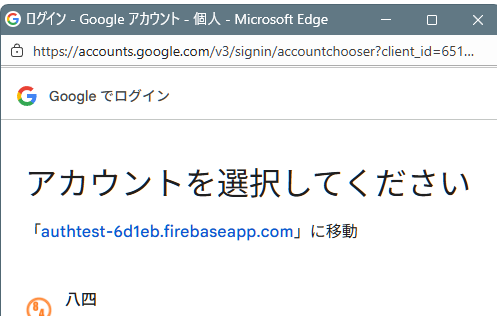
アカウントを選択してくださいが表示されたら一応成功。
あとは指示に従い認証する。
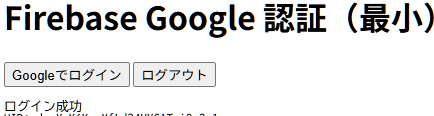
成功すると「ログイン成功」とUIDと名前とメールアドレスが表示されます。
承認済みドメインの設定
Webサーバーでインターネット公開するページにする場合、
index.htmlを配置するサーバーのドメインを登録しておく
コンソール→Authentication→設定→ドメインの選択

例:GitHub Pages
USERNAME.github.io


コメント