「Border」の名称から罫線を引くコントロールと予想しますが、実際どのような代物なのか試してみます。
XAMLにborderをセット
<Window x:Class="BorderSample.MainWindow"
        xmlns="http://schemas.microsoft.com/winfx/2006/xaml/presentation"
        xmlns:x="http://schemas.microsoft.com/winfx/2006/xaml"
        xmlns:d="http://schemas.microsoft.com/expression/blend/2008"
        xmlns:mc="http://schemas.openxmlformats.org/markup-compatibility/2006"
        xmlns:local="clr-namespace:BorderSample"
        mc:Ignorable="d"
        Title="MainWindow" Height="450" Width="800">
    <Grid>
        <Border />
    </Grid>
</Window>
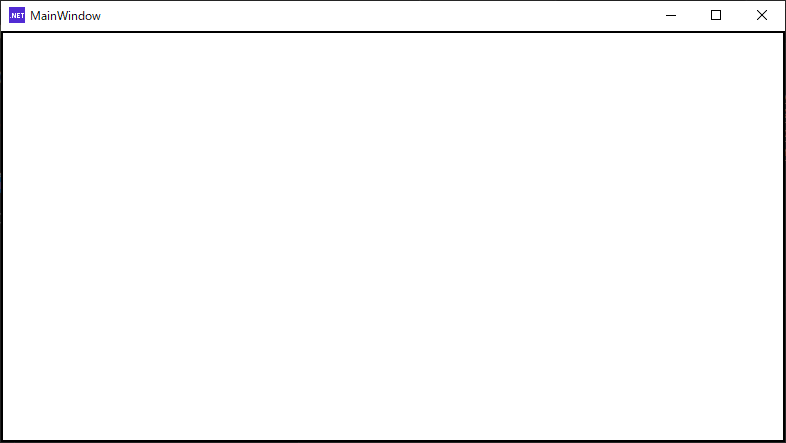
BorderBrushとBorderThicknessをセット
<Window x:Class="BorderSample.MainWindow"
        xmlns="http://schemas.microsoft.com/winfx/2006/xaml/presentation"
        xmlns:x="http://schemas.microsoft.com/winfx/2006/xaml"
        xmlns:d="http://schemas.microsoft.com/expression/blend/2008"
        xmlns:mc="http://schemas.openxmlformats.org/markup-compatibility/2006"
        xmlns:local="clr-namespace:BorderSample"
        mc:Ignorable="d"
        Title="MainWindow" Height="450" Width="800">
    <Grid>
        <Border
            BorderBrush = "Black"
            BorderThickness = "2" />
    </Grid>
</Window>
Marginをセットしてみる
<Window x:Class="BorderSample.MainWindow"
        xmlns="http://schemas.microsoft.com/winfx/2006/xaml/presentation"
        xmlns:x="http://schemas.microsoft.com/winfx/2006/xaml"
        xmlns:d="http://schemas.microsoft.com/expression/blend/2008"
        xmlns:mc="http://schemas.openxmlformats.org/markup-compatibility/2006"
        xmlns:local="clr-namespace:BorderSample"
        mc:Ignorable="d"
        Title="MainWindow" Height="450" Width="800">
    <Grid>
        <Border
            BorderBrush = "Black"
            BorderThickness = "2"
            Margin = "25" />
    </Grid>
</Window>
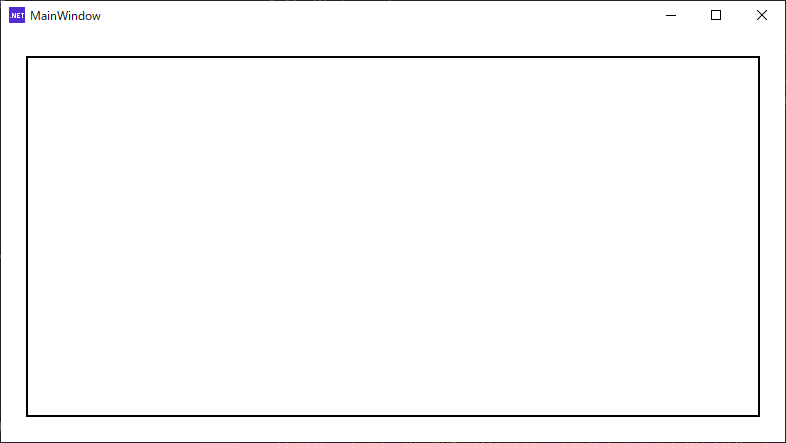
親要素とのMarginを25にセットしたところ枠線が目視できるようになりました。
水平線を想定していたので意外な感じがしましたが、枠が出来ると言うことは子要素をもてそうです。
<Window x:Class="BorderSample.MainWindow"
        xmlns="http://schemas.microsoft.com/winfx/2006/xaml/presentation"
        xmlns:x="http://schemas.microsoft.com/winfx/2006/xaml"
        xmlns:d="http://schemas.microsoft.com/expression/blend/2008"
        xmlns:mc="http://schemas.openxmlformats.org/markup-compatibility/2006"
        xmlns:local="clr-namespace:BorderSample"
        mc:Ignorable="d"
        Title="MainWindow" Height="450" Width="800">
    <Grid>
        <Border
            BorderBrush = "Black"
            BorderThickness = "2"
            Margin = "25">
            <Button>Button 1</Button>
        </Border>
    </Grid>
</Window>
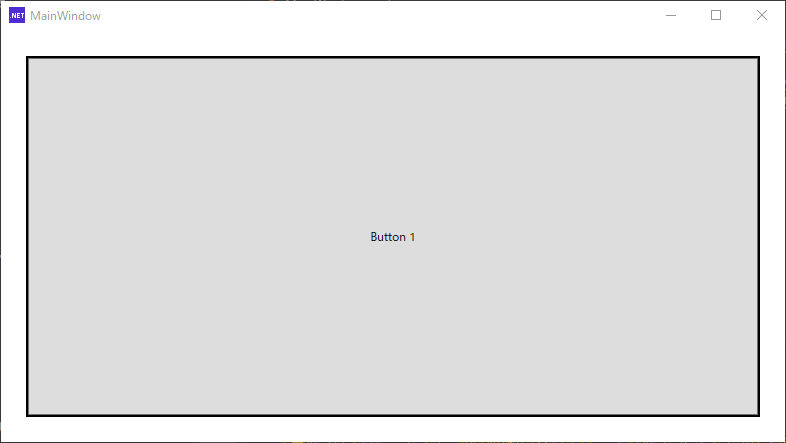
子要素としてボタンを配置してみましたが、枠線のギリギリまで広がっているので少し余裕も持たせます。
<Window x:Class="BorderSample.MainWindow"
        xmlns="http://schemas.microsoft.com/winfx/2006/xaml/presentation"
        xmlns:x="http://schemas.microsoft.com/winfx/2006/xaml"
        xmlns:d="http://schemas.microsoft.com/expression/blend/2008"
        xmlns:mc="http://schemas.openxmlformats.org/markup-compatibility/2006"
        xmlns:local="clr-namespace:BorderSample"
        mc:Ignorable="d"
        Title="MainWindow" Height="450" Width="800">
    <Grid>
        <Border
            BorderBrush = "Black"
            BorderThickness = "2"
            Padding = "25"
            Margin = "25">
            <Button>Button 1</Button>
        </Border>
    </Grid>
</Window>
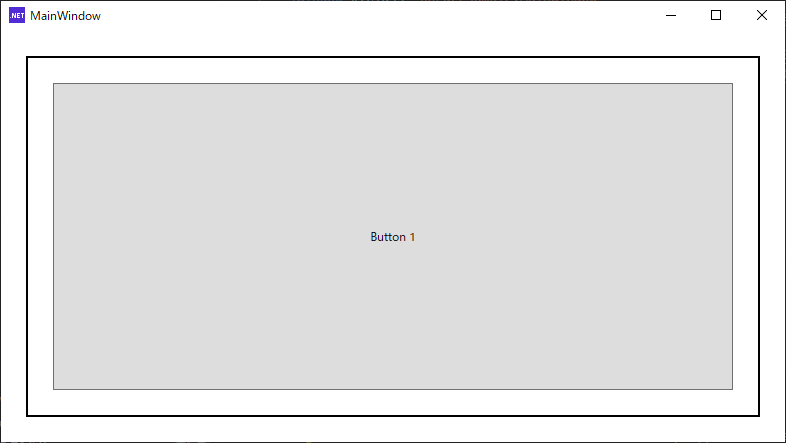
親要素であるBorderのPaddingプロパティに数値をセットすることで子要素であるButtonとの距離をとることが出来ました。
サンプルではButtonを配置しましたが、Borderが直接持てる子要素は1つだけとのことですので、実用的にはPanelあたりを配置してその上にコントロールを乗せていくような使い方になりそうです。
<Window x:Class="BorderSample.MainWindow"
        xmlns="http://schemas.microsoft.com/winfx/2006/xaml/presentation"
        xmlns:x="http://schemas.microsoft.com/winfx/2006/xaml"
        xmlns:d="http://schemas.microsoft.com/expression/blend/2008"
        xmlns:mc="http://schemas.openxmlformats.org/markup-compatibility/2006"
        xmlns:local="clr-namespace:BorderSample"
        mc:Ignorable="d"
        Title="MainWindow" Height="450" Width="800">
    <Grid>
        <Border
            BorderBrush = "Black"
            BorderThickness = "0,4,8,16"
            CornerRadius = "45"
            Padding = "25"
            Margin = "25">
            <StackPanel>
                <Label FontSize="48">WPF</Label>
                <Button FontSize="48">コントロール</Button>
            </StackPanel>
        </Border>
    </Grid>
</Window>
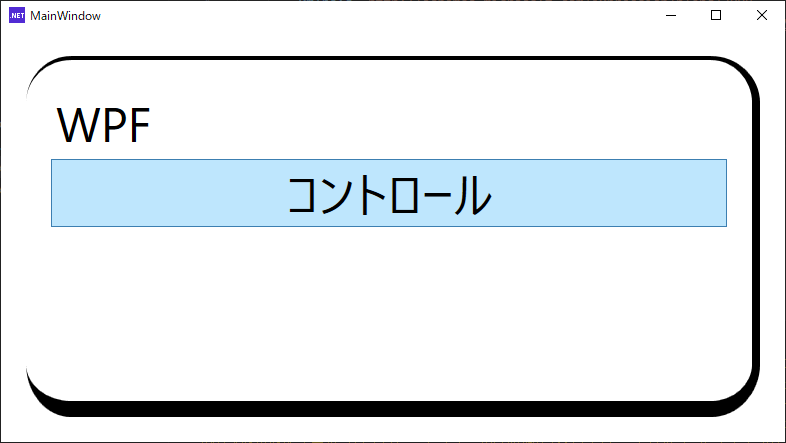
CornerRadiusプロパティに値をセットすると角が丸くなりました。
BorderThicknessにセットする線の太さを左上右下で設定できるようです。
以上

コメント