
選択範囲の左上、右上、右下、左下を調べ色を取得できる場合、その色を前景色にセットし、選択範囲を塗りつぶします。
#!/usr/bin/env python
# coding: utf8

from gimpfu import *
from array import array
from time import time

def plugin_main(image, layer):

    start1 = time()

    # レイヤーの幅と高さを取得
    w = layer.width
    h = layer.height

    # 範囲選択を取得
    (non_empty,x1,y1,x2,y2) = pdb.gimp_selection_bounds(image)

    # 範囲選択されていない場合終了
    if (non_empty == 0):
        gimp.message("Not Select")
        return
    # 色を取得
    cx = -1
    cy = -1
    if (x1 > 0 and y1 > 0):
        cx = x1 - 1
        cy = y1 - 1
    elif (x2 < (w-1) and y1 > 0):
        cx = x2 + 1
        cy = y1 - 1
    elif (x2 < (w-1) and y2 < (h-1)):
        cx = x2 + 1
        cy = y2 + 1
    elif (x1 > 0 and y2 < (h-1)):
        cx = x1 - 1
        cy = y2 + 1
    else:
        gimp.message("x1:{0} x2:{1} y1:{2} y2:{3}".format(x1, x2, y1, y2))
        return


    # ピクセルの色を取得
    _, pix = pdb.gimp_drawable_get_pixel(layer, cx, cy)
    color = (pix[0], pix[1], pix[2], 1.0)

    gimp.message("r:{0} g:{1} b:{2}".format(pix[0], pix[1], pix[2]))

    # 前景色にセット
    pdb.gimp_context_set_foreground(color)

    # 前景色で塗りつぶし
    pdb.gimp_drawable_edit_fill(layer, 0)

    # レイヤーの更新
    layer.flush()
    #layer.merge_shadow()
    layer.update(0,0,w,h)

    proc_time = time() - start1
    gimp.message("実行時間:{0}".format(proc_time))


register("AutoColorFill", "", "", "", "", "",
    "自動塗りつぶし",
    "RGB*",
    [
    (PF_IMAGE, "image", "Input image", None),
    (PF_DRAWABLE, "drawable", "Drawable", None)
    ],
    [],
    plugin_main,
    menu = "<Image>/Filters")

main()
OpenCVのInpaint()を試したり、自作を試みたりもしましたが、手の込んだ補完方法より、シンプルに単色で塗りつぶす方法が自分の用途に合っていると気が付きました。本当であれば選択範囲の外周を走査し、最も利用頻度の高い色をセットしたいところですが、プログラムが面倒ですし、スクリプト自体が遅くなるので、選択範囲の四隅(左上→右上→右下→左下)を順に調べて色が取得できる座標であればその色を採用するようにしています。どの色で塗りつぶすかは選択範囲である程度コントロールすることが出来ますので、それなりに使えるのではないかと考えていますが、使いながらスクリプトを修正したいと思います。
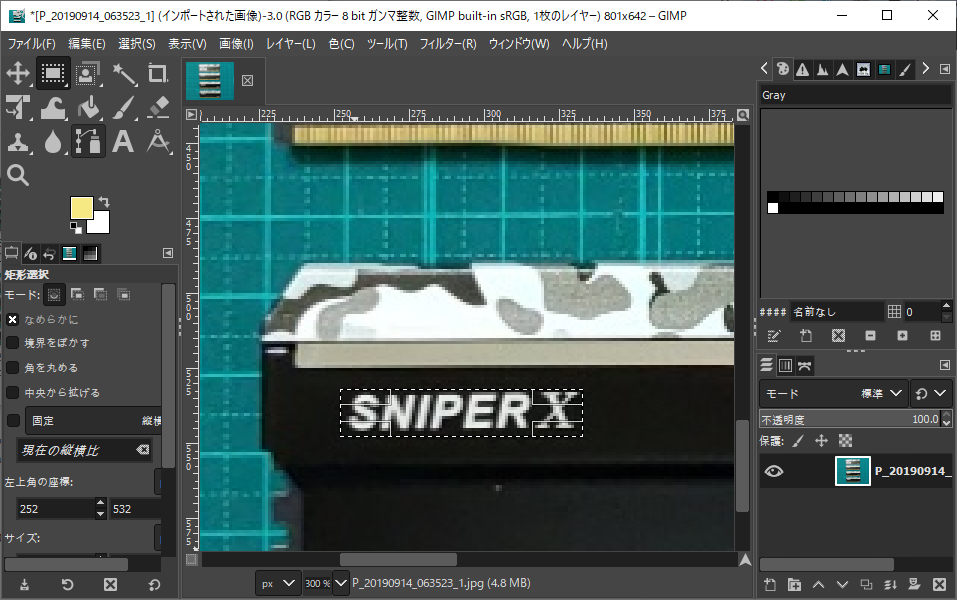
範囲を選択
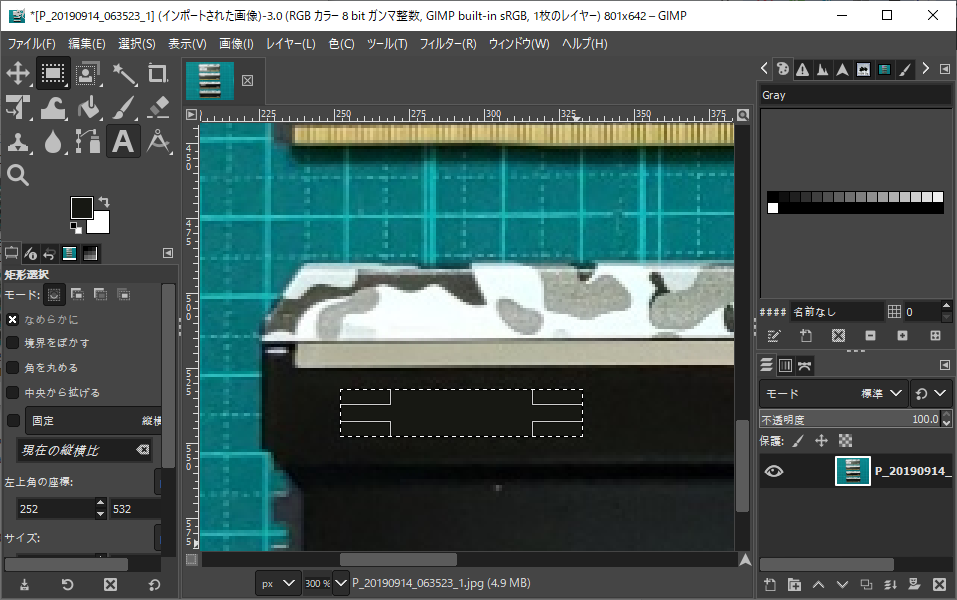
フィルタを実行
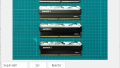
コメント